

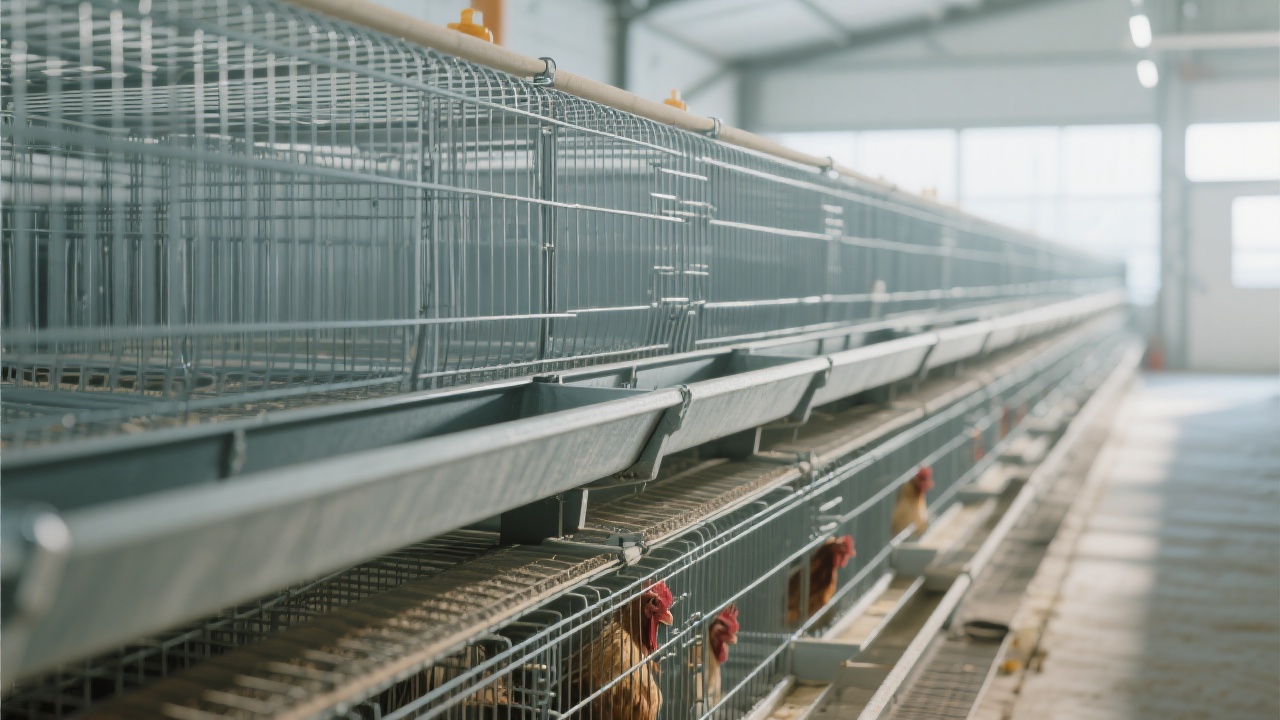
Embarking on automating your layer chicken cages? This detailed guide walks you through every critical step of installing and fine-tuning an automated system—from precise rail alignment and motor calibration to sensor verification. Leveraging first-hand field experience, we decode common hurdles like tension adjustment and sensor misplacement, equipping you to achieve a smooth transition from manual to fully automated poultry farming.
Effective automation begins well before the physical installation. Start with a thorough site assessment, considering spatial layout and electrical infrastructure. Opt for durable framework materials, such as international Q235 steel combined with hot-dip galvanizing, which ensures long-term corrosion resistance and structural integrity under humid conditions inside poultry houses.
Next, equip your installation team with calibration tools and a clear checklist to avoid overlooking preparation tasks like wiring conduit channels or checking sensor compatibility. This foundation reduces downtime during subsequent stages.
Proper rail placement directly impacts cage movement and automation efficiency. Use laser alignment tools or precision levels to ensure rails run perfectly parallel without warping. Attention to tensioning mechanical components at this phase is crucial — over-tightening may cause premature wear, while slack rails can induce system failure.
Remember, even a slight deviation of just a few millimeters can lead to egg jamming or conveyor misalignment, affecting productivity.
Once rails are secured, focus on calibrating the motors driving the cage movement and conveyors. Fine-tuning motor speed and torque prevents stalling or abrupt stops that disrupt egg collection and cleaning operations. Use a multimeter and oscilloscope to verify electrical parameters during the motor's startup and operational cycles.
Install sensors with meticulous care, placing them according to manufacturer specifications but also considering practical operational conditions. For example, sensors that detect egg position must avoid false triggers caused by dust or movement vibrations. You may need to slightly adjust sensor distances or angles after initial tests.
In practice, workers often face difficulties such as uneven belt tension, inaccurate sensor positioning, or electrical interference. Here are key troubleshooting tips:
The final phase involves connecting all components—rails, cages, motors, sensors, and control units—into one cohesive system. Conduct staged tests for each operation module before a full system run. Pay special attention to response times between sensor signals and motor actions, ensuring minimal latency.
Deploy a 7-day phased commissioning schedule:
By following these steps and leveraging robust materials—including using Q235 steel with hot-dip galvanizing for enhanced durability—you can confidently streamline your layer chicken farming operations, reduce manual labor, and maximize productivity.

 364
|
364
|
 manure removal system
energy-saving technology
ISO14001 environmental management
laying hen farming
manure resource utilization
371
|
layer chicken farming
cage system design
ventilation control
temperature regulation
egg production optimization
manure removal system
energy-saving technology
ISO14001 environmental management
laying hen farming
manure resource utilization
371
|
layer chicken farming
cage system design
ventilation control
temperature regulation
egg production optimization
 329
|
智能自动采蛋系统
蛋鸡笼清粪设备
养鸡场降本增效方案
H型鸡笼优势
养鸡场智能自动化
136
|
Poultry Cage System
329
|
智能自动采蛋系统
蛋鸡笼清粪设备
养鸡场降本增效方案
H型鸡笼优势
养鸡场智能自动化
136
|
Poultry Cage System
 69
|
high-efficiency H-type layer cage
automated egg collection system
manure removal automation
poultry ventilation technology
temperature control in layer farming
69
|
high-efficiency H-type layer cage
automated egg collection system
manure removal automation
poultry ventilation technology
temperature control in layer farming


.jpg?x-oss-process=image/resize,m_fill,h_600,w_600/format,webp)


