


7 Preparations Before Installing an H-Type Layer Cage System

Installing an H-type layer cage system is a coordination project. Cage rows, feeding equipment, drinking lines, egg collection, manure removal and house services must fit together. A missing power connection or an obstructed service aisle can delay the entire installation. This checklist turns the installation theme into seven practical handover points for the farm owner, building contractor and equipment team.
Review the H-type layer cage product and configuration options.
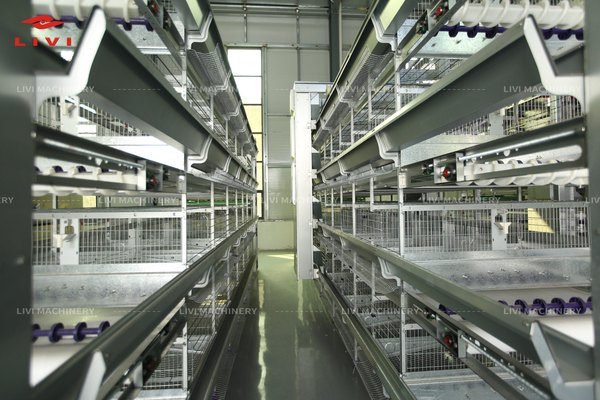
1. Freeze the approved equipment layout
Confirm the cage model, tier count, row arrangement and number of units with the supplier before marking the floor. Use the same drawing revision for the farm, builder and installation team. Record the positions of columns, doors, egg transfer points, manure outlets and service areas. Resolve changes in writing before equipment production or site work is affected.
A useful starting package includes the layout drawing, equipment list, agreed supply scope and responsibility matrix. Clarify who supplies local cables, pipes, lifting equipment and installation labor; do not assume these are included.
2. Check the poultry house and floor
Measure usable internal dimensions on site and compare them with the approved drawing. Check obstructions, floor condition, drainage routes and access around the cage rows. The building designer or qualified engineer should confirm floor and structural suitability for the specific equipment and operating loads.
Do not copy foundation dimensions, anchor details or floor tolerances from an unrelated project. Confirm those requirements with the equipment supplier and responsible engineer. Keep ventilation openings and maintenance routes clear.
3. Prepare power, water and backup arrangements
Give a qualified electrician the equipment electrical requirements and control drawings. Confirm the agreed voltage, frequency, connected load, protection, earthing and connection locations. Prepare the water supply, filtration and pressure conditions required by the drinking-system specification.
Agree on backup arrangements for essential farm services before birds arrive. Test the relevant changeover and alarm functions under an approved procedure. This article is a planning checklist, not electrical wiring or machinery installation instructions.
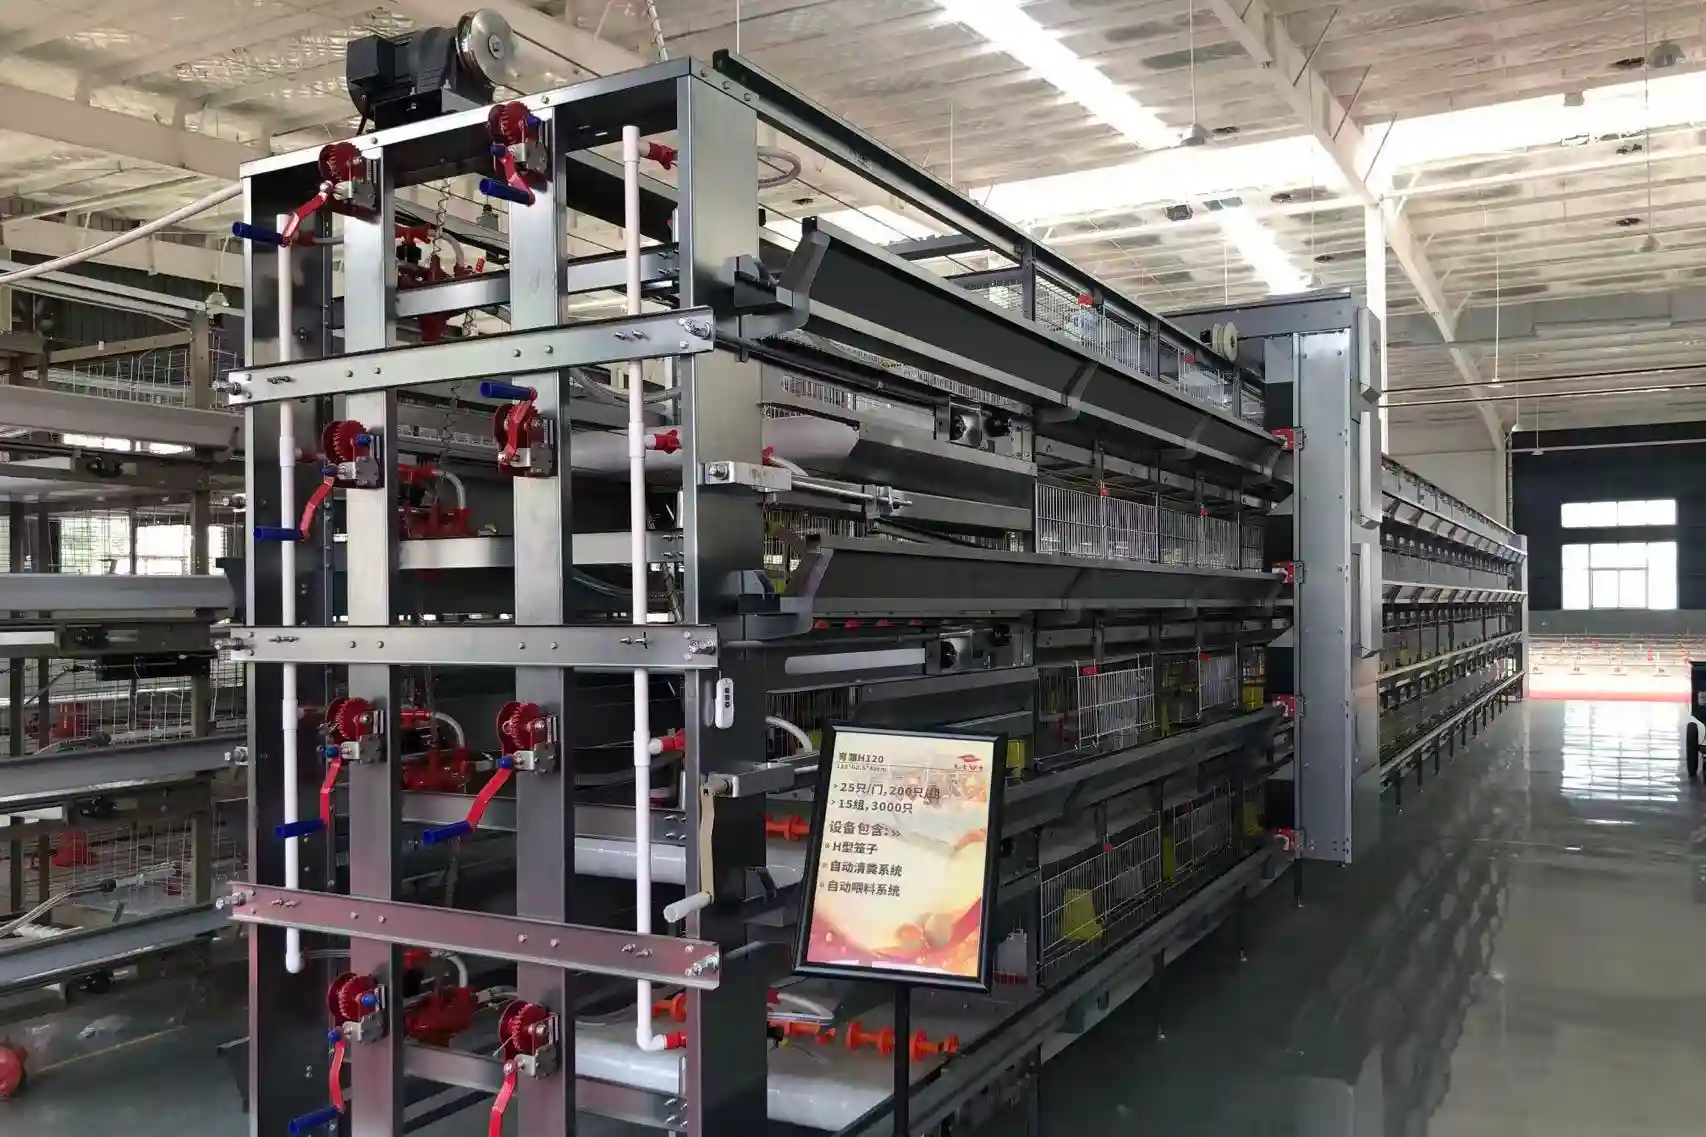
4. Organize unloading and protected storage
Check site access for delivery vehicles, unloading space and the installation sequence before dispatch. Assign trained personnel and suitable handling equipment. On receipt, reconcile packages with the packing list, photograph visible damage and record missing items before assembly starts.
Store components as instructed by the supplier. Protect control equipment and other moisture-sensitive parts, keep labels readable and group packages by row or assembly stage. A tidy staging area helps avoid mixing parts and blocking exits.
5. Coordinate assembly and maintenance access
Use the manufacturer’s installation instructions and qualified installers. Agree on assembly order and interface checks for cage frames, feed delivery, drinkers, egg belts and manure belts. Confirm access to motors, drives and adjustment points before closing the installation stage.
Plan servicing with equipment safely isolated. Never remove guards or adjust moving belts during operation. Unexpected interference, damaged components or unclear fixing details should be referred to the responsible installer instead of improvised on site.
6. Agree on commissioning and acceptance
Prepare a written test plan before scheduling the flock. The authorized team should verify mechanical completion, required guards, electrical checks and individual equipment functions before coordinated operation. Assess belt tracking, transfer points, water leaks and control responses against the manufacturer’s acceptance criteria.
Record defects, the person responsible and the retest result. Do not introduce birds simply because the equipment has been assembled: complete agreed commissioning, farm-readiness checks and the site’s biosecurity preparations first.
7. Complete training and handover records
Train operators on normal startup and shutdown, alarm response, emergency procedures, cleaning and planned maintenance. Confirm which tasks staff may perform and which require qualified service personnel. Keep manuals accessible in a language the operating team understands.
The handover file should contain final drawings, equipment identification, acceptance records, service contacts and an agreed spare-parts list. Allocate responsibility for daily inspections and maintenance records so the installation remains manageable after the installers leave.
Installation readiness at a glance
| Checkpoint | Evidence to prepare |
|---|---|
| Design and building | Approved layout, site measurements and engineering confirmation |
| Utilities and delivery | Agreed service requirements, unloading plan and packing-list check |
| Commissioning and handover | Signed test records, closed defects and operator training |
.jpg)
Frequently asked questions
Can the house be built before the cage layout is approved?
Coordinate both designs first. Building dimensions, columns, outlets and service clearances can constrain the cage arrangement and increase rework.
How long does installation take?
There is no single reliable duration. It depends on equipment quantity, site readiness, delivery completeness, installer availability and the agreed scope. Ask for a project-specific schedule.
Prepare your project with Livi
Send the planned flock size, site location, internal house dimensions, available utility information and target installation date. These inputs help clarify the equipment configuration and site responsibilities before delivery.
Explore the H-type layer cage system

Hot Products

.jpg?x-oss-process=image/resize,m_fill,h_800,w_800/format,webp)


Popular articles


READY TO START?
Ready to Build Your Poultry Farm?
Tell us your land size, poultry type and farming capacity. LIVI will provide a complete farm solution for your project.