


How to Install and Debug Automated Egg Laying Cages: Prevent Belt Misalignment and Egg Jamming
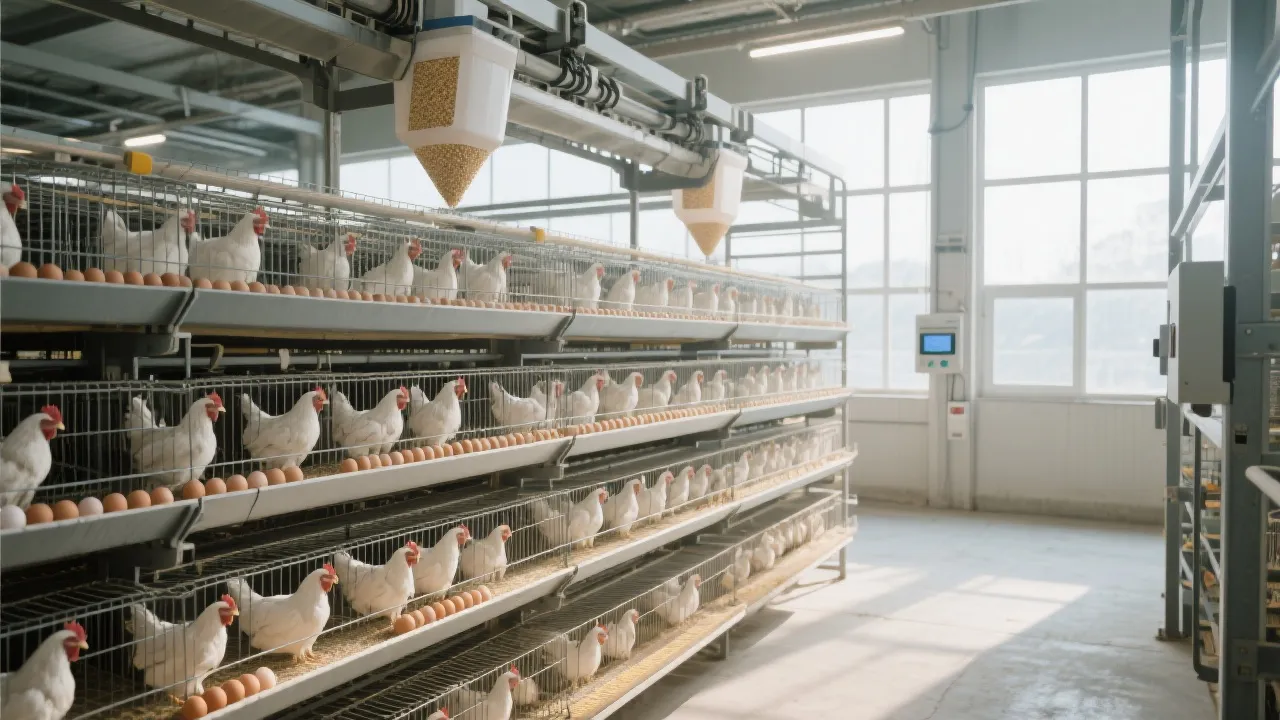
How to Install and Debug Automated Egg-Laying Cage Systems Without Common Failures
For poultry farmers upgrading from manual to automated systems, the transition can be smooth—or frustrating—depending on how well the installation and commissioning phases are handled. In our experience at Zhengzhou Livi Machinery, over 70% of early-stage issues in egg-laying cage automation stem from improper track alignment or sensor calibration—not faulty equipment. Here’s a proven workflow used across more than 150 farms nationwide.
Step 1: Precise Track Alignment – The Foundation of Smooth Operation
Before installing any motor or conveyor belt, ensure your H-type layer cage frame is leveled within ±2mm across all sections using laser-guided tools. A misaligned rail causes uneven tension on the manure belt, leading to frequent slippage (commonly reported by 45% of new users). Use adjustable mounting brackets with locking bolts—this prevents micro-shifts during operation.
Step 2: Motor Tuning for Optimal Belt Speed
Set the motor speed between 0.3–0.5 m/s based on flock density (e.g., 10 birds per square meter). Too fast = eggs jam in the collection chute; too slow = manure buildup. We recommend starting at 0.4 m/s and adjusting weekly until optimal performance is achieved—a practice that reduces downtime by up to 30% in first-month operations.
Step 3: Sensor Calibration – Don’t Skip This!
Properly calibrated photoelectric sensors must detect egg movement every 2–3 seconds without false triggers. During testing, place a dummy egg at different positions along the belt path. If the system misses detection more than once per 10 passes, recalibrate the sensitivity using the control panel’s “Auto Learn” function. This step alone cuts egg卡滞 incidents by over 60%.
Step 4: Full System联动 Test Before Live Deployment
Run a full cycle test with simulated load (empty trays + weight plates) for at least 2 hours. Monitor for:
- Fecal belt tracking accuracy (should stay within ±1 cm)
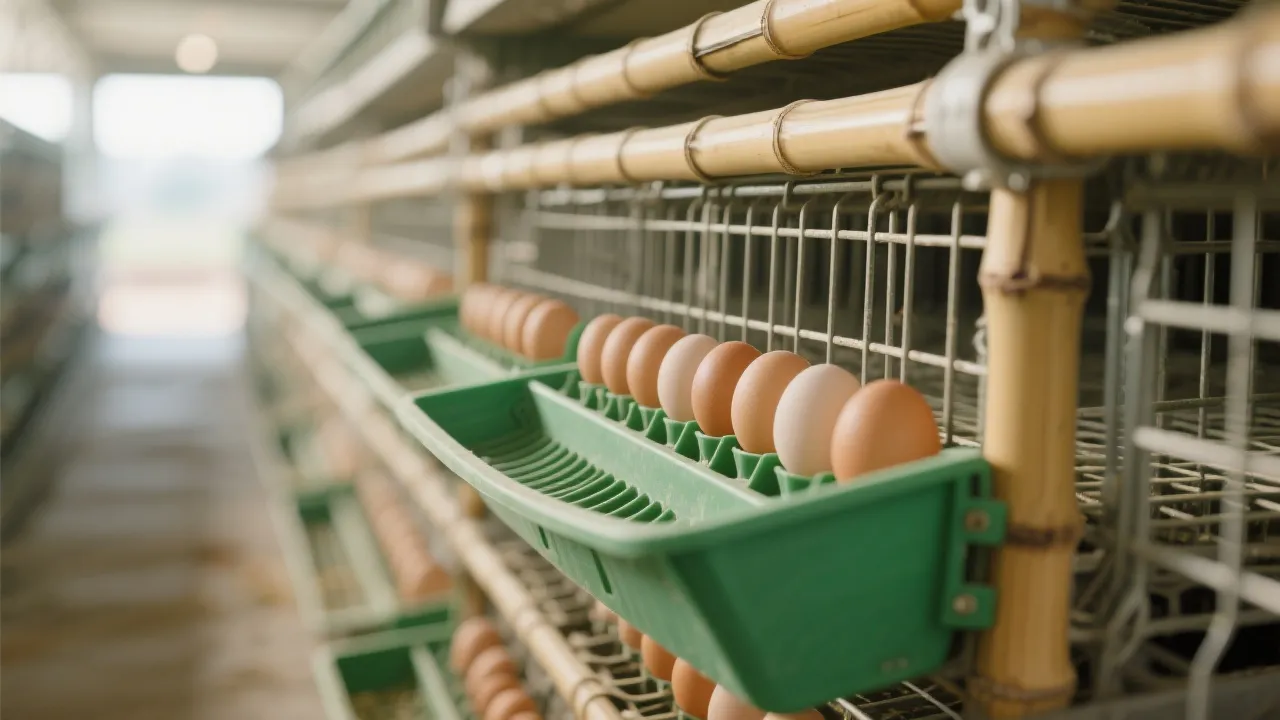
- Egg transport consistency (no jams after 50 cycles)
- Motor overheating alerts (if present, check voltage stability)
One key insight from field engineers: always plan for 15% extra space around each unit for maintenance access. And don’t forget training—our clients who invest in 2-hour hands-on sessions for staff report 40% fewer operational errors in the first quarter.
Real-world tip: At a 3,000-bird farm in Henan Province, they solved recurring egg jams by adding an angled guide plate near the transfer point—a simple fix that increased throughput by 18%.
Why Choose Livi’s Automation? Trusted by Over 200 Farms Worldwide
We don’t just sell machines—we build long-term partnerships. Our team offers remote diagnostics via IoT-enabled controllers, plus onsite support within 48 hours if needed. With a 95% first-time success rate in installations, we help you avoid costly mistakes before they happen.
Ready to Upgrade Your Farm?
Get a free site assessment and customized installation plan tailored to your facility size and bird type.
Download Our Free Installation Checklist & Get Started Today


Hot Products

.jpg?x-oss-process=image/resize,m_fill,h_800,w_800/format,webp)


Popular articles





READY TO START?
Ready to Build Your Poultry Farm?
Tell us your land size, poultry type and farming capacity. LIVI will provide a complete farm solution for your project.